Showing posts with label tutorial for burp cloths. Show all posts

Time Keeps on Ticking

Another week has passed. Here is what I was hoping to accomplish:

  • start sewing my bird mini
  • work on my Flower Patch SAL blocks 
  • sew some burp cloths
  • put together my Macaron Mystery quilt. 
  • get five customer quilts done

Here's how I did:

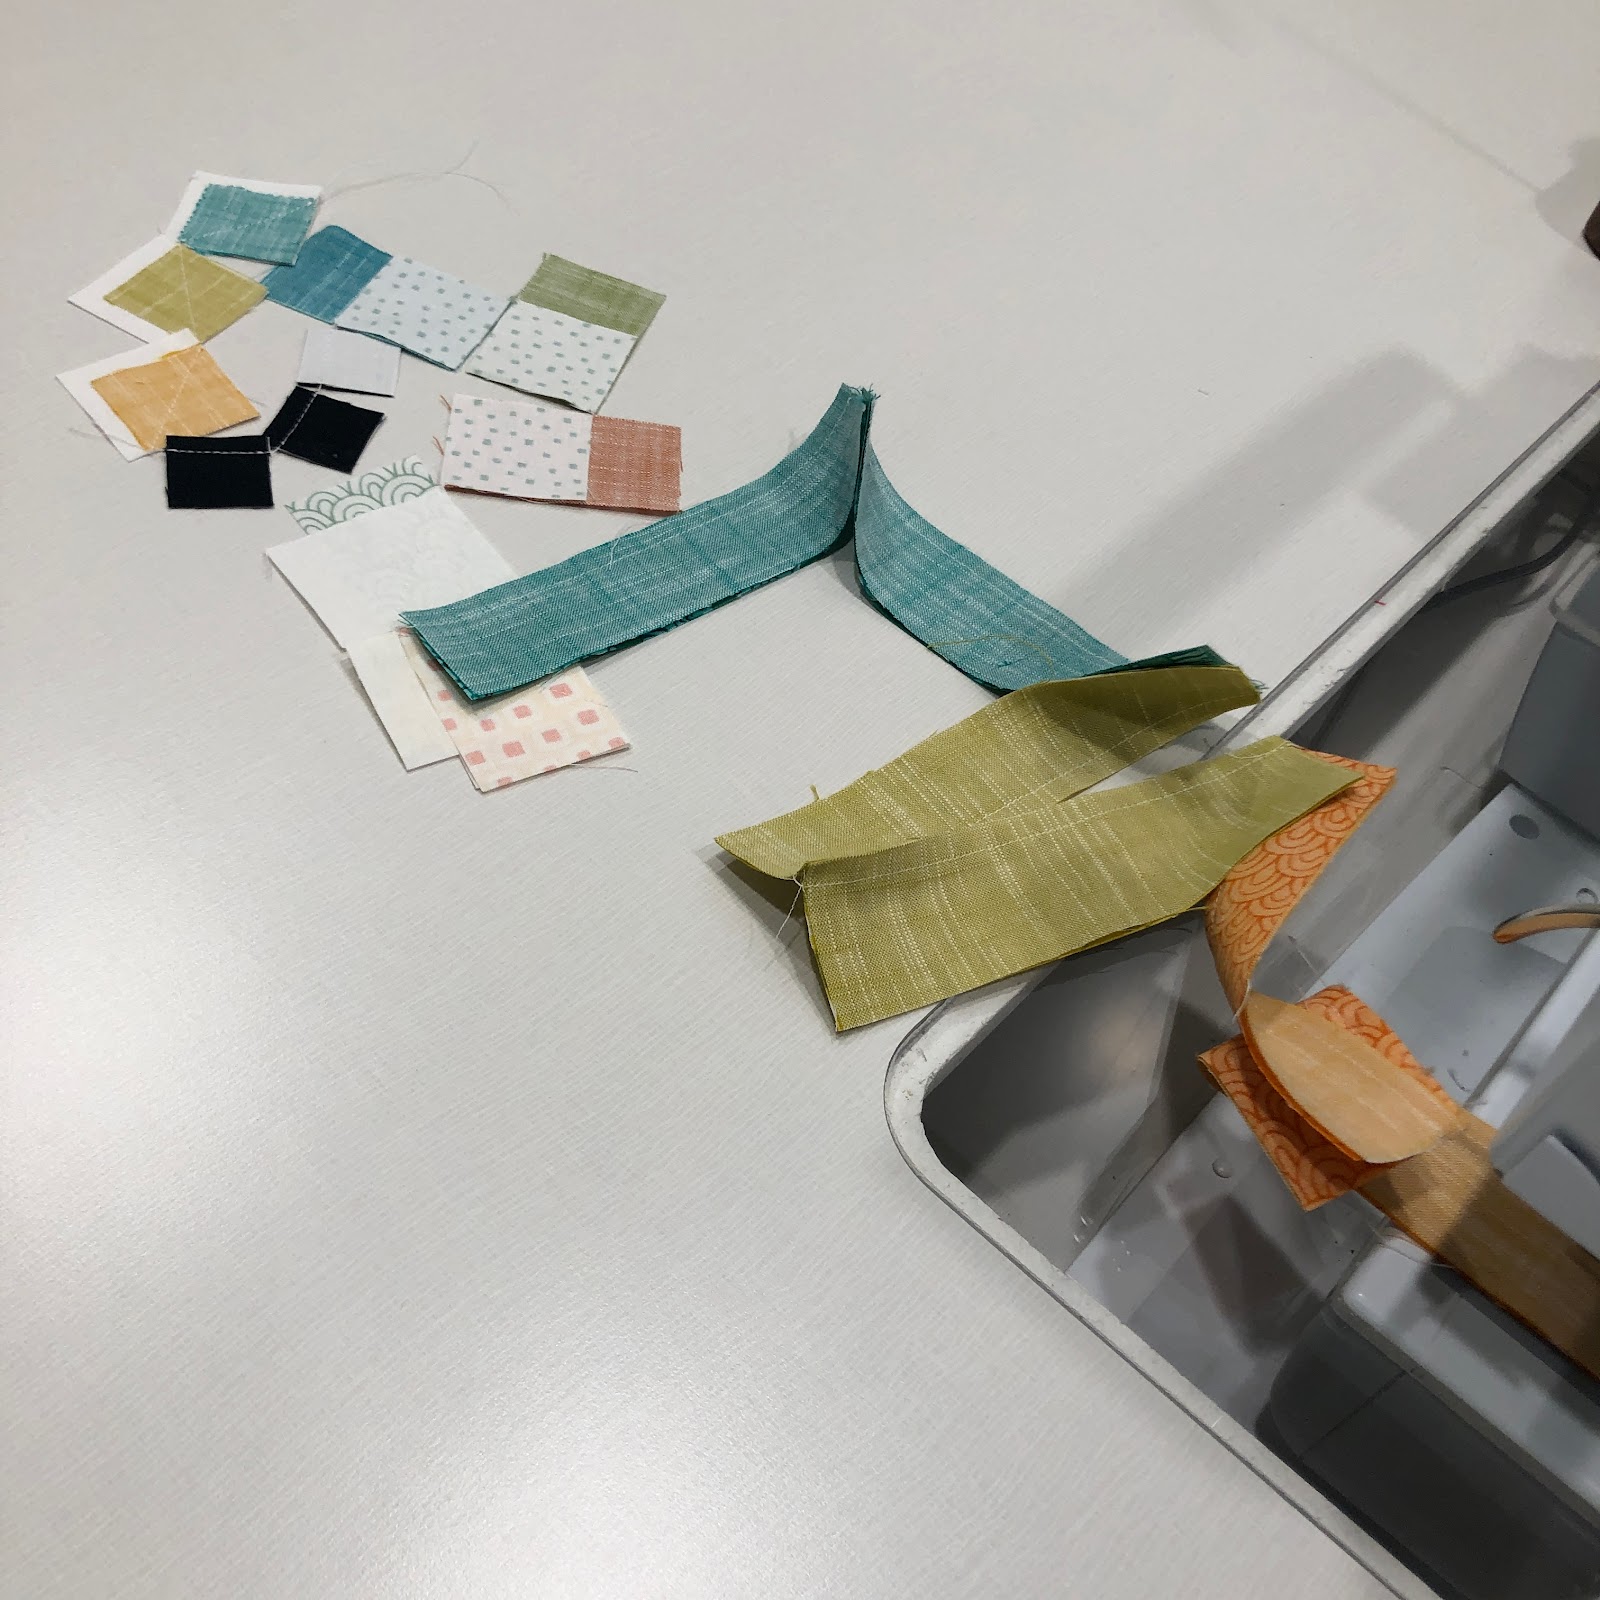
I did start sewing the bird mini yesterday, but my day went quite off track and I just didn't get as much done as I'd hoped. Yes, the pieces are still attached to the sewing machine. 
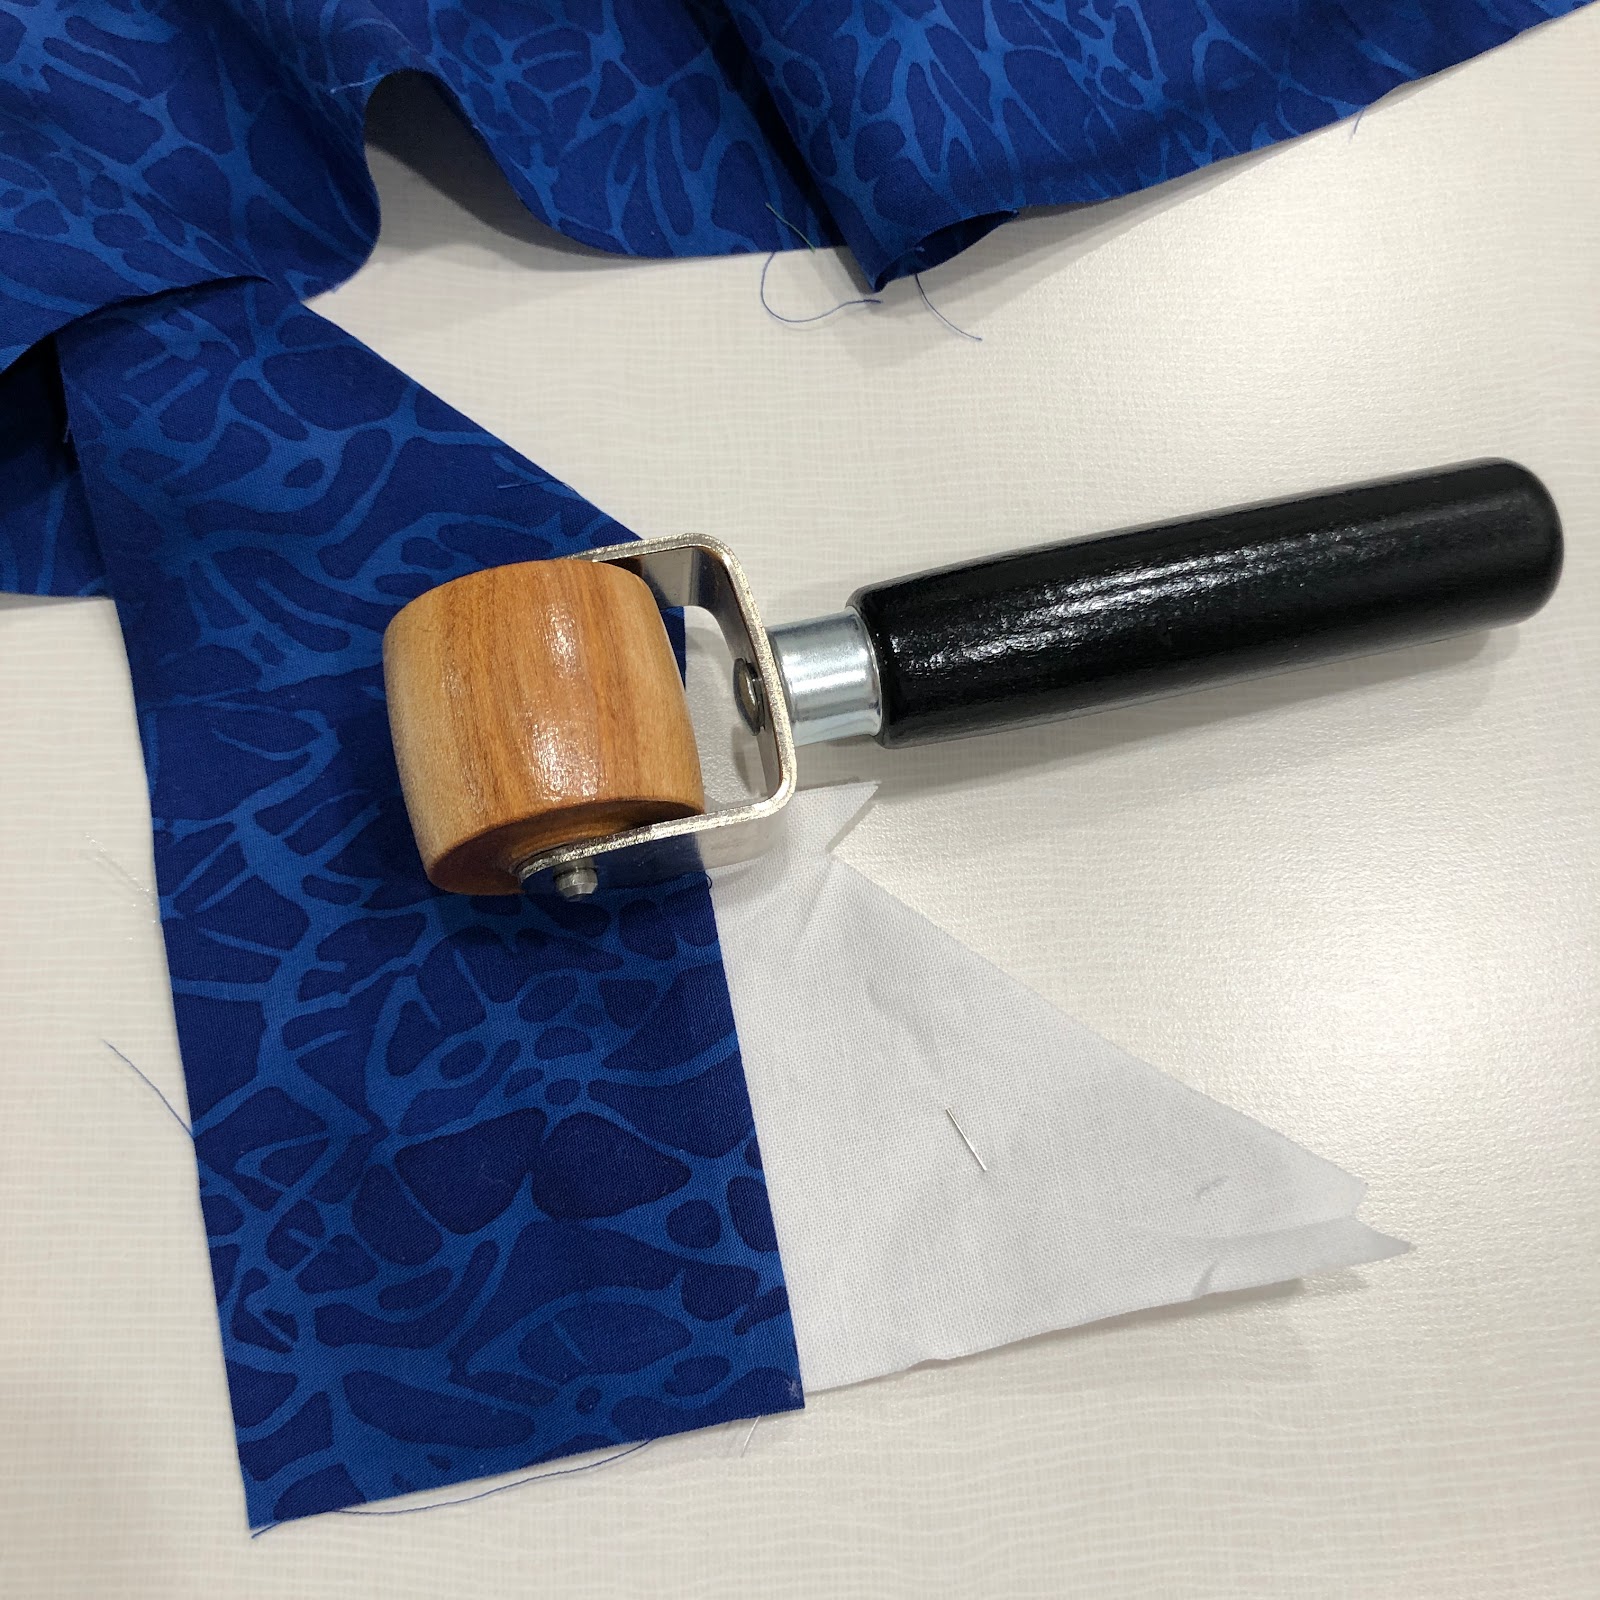
Failing at making progress on the Flower Patch, but feeling confident I'll get this done before next week's link-up. I did notice that my little seam roller gives me a much better press than my actual iron does. Might be time to replace the iron yet again.
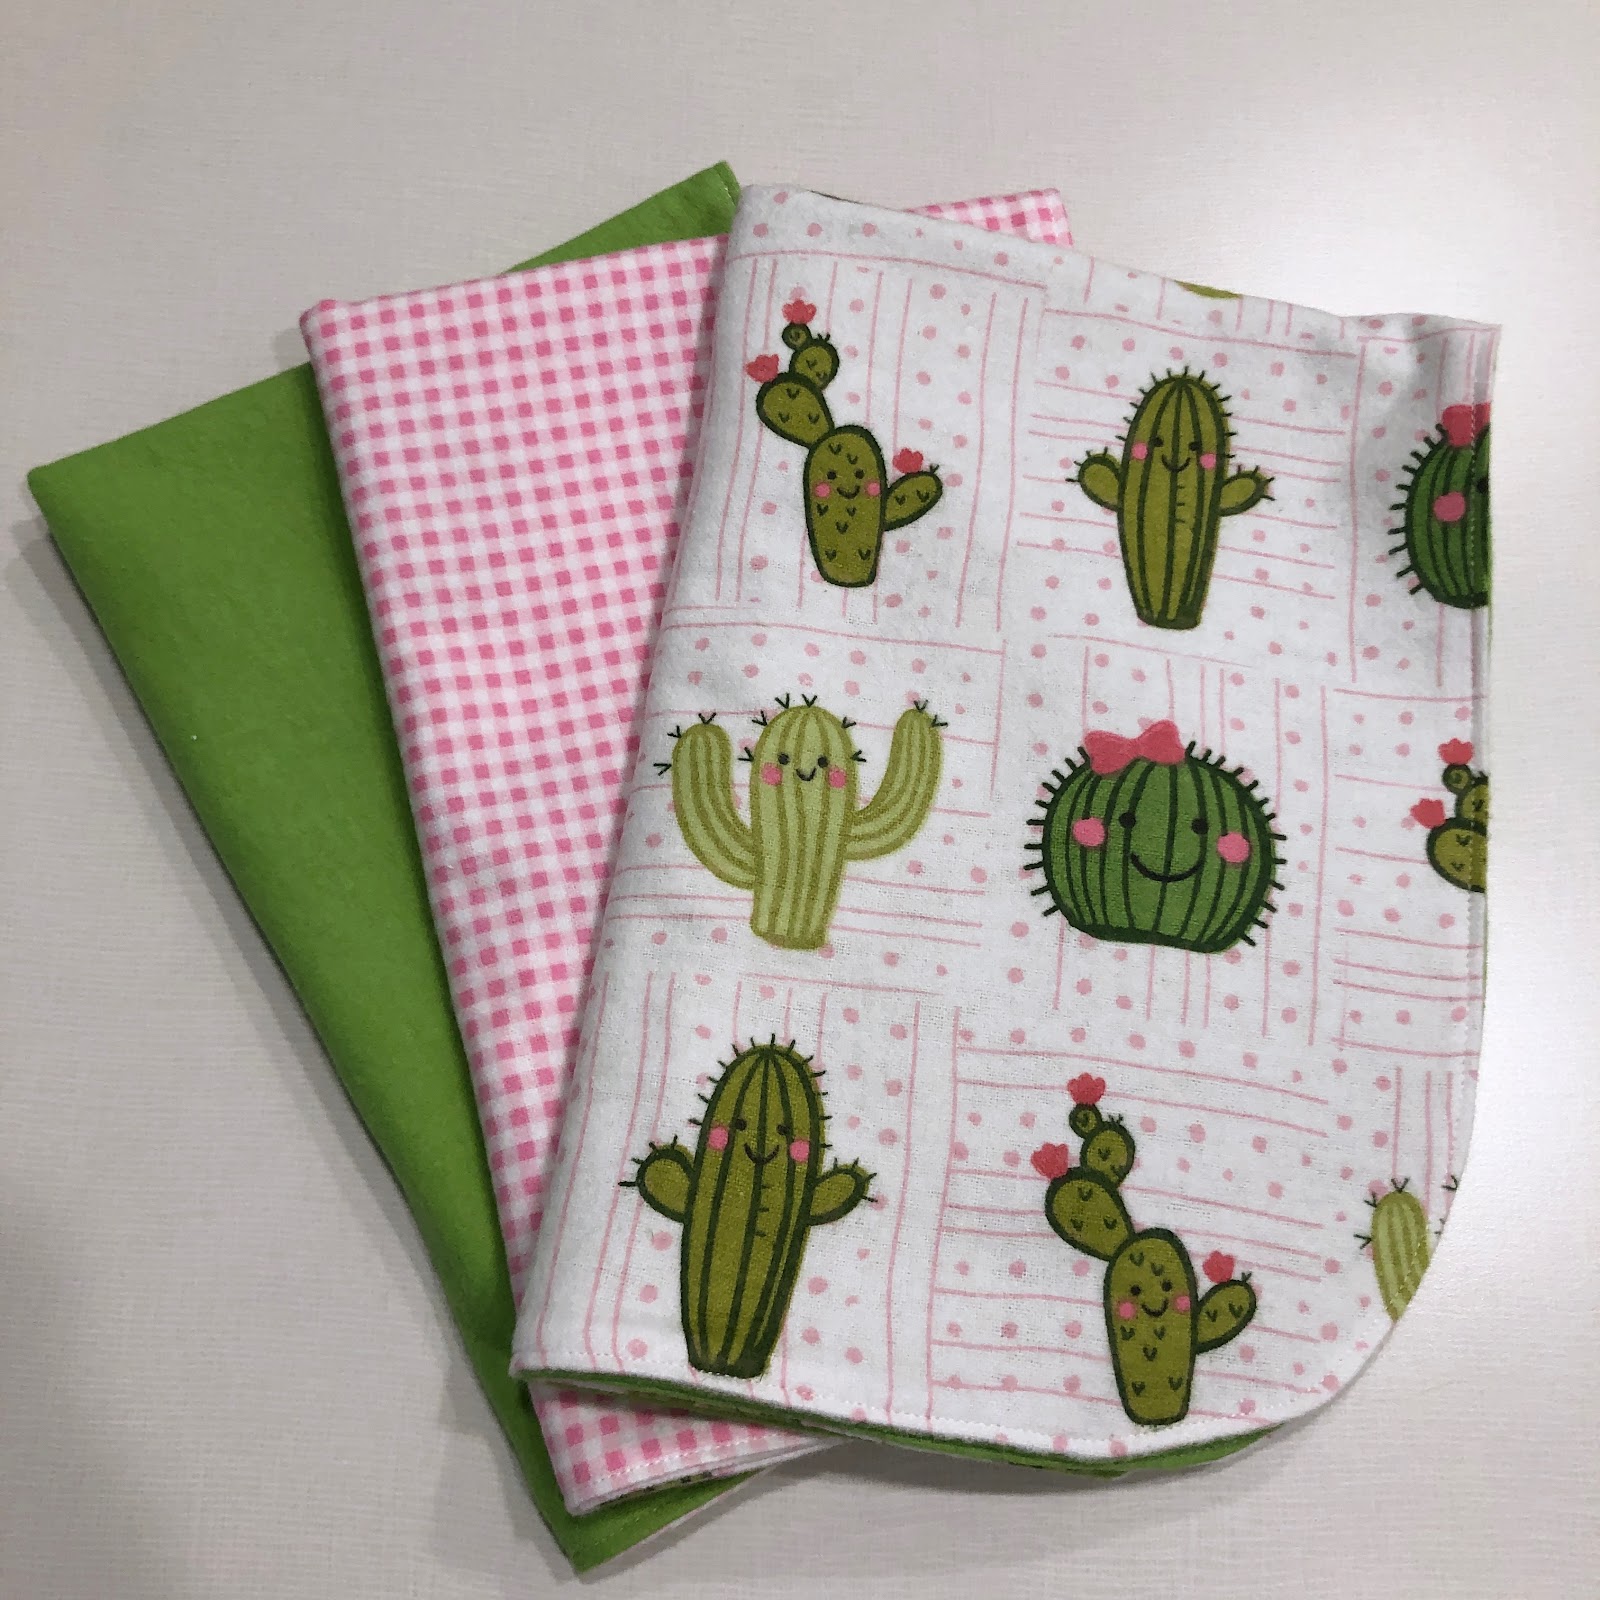
The burp cloths are done and have arrived in Michigan. Years ago, I wrote a tutorial for these. 
I have started assembling my Macaron Mystery, but set it aside because time is running short to get the bird mini (February OMG) and Flower Patch blocks done in time.  All the blocks are sewn and waiting to be assembled into a top.
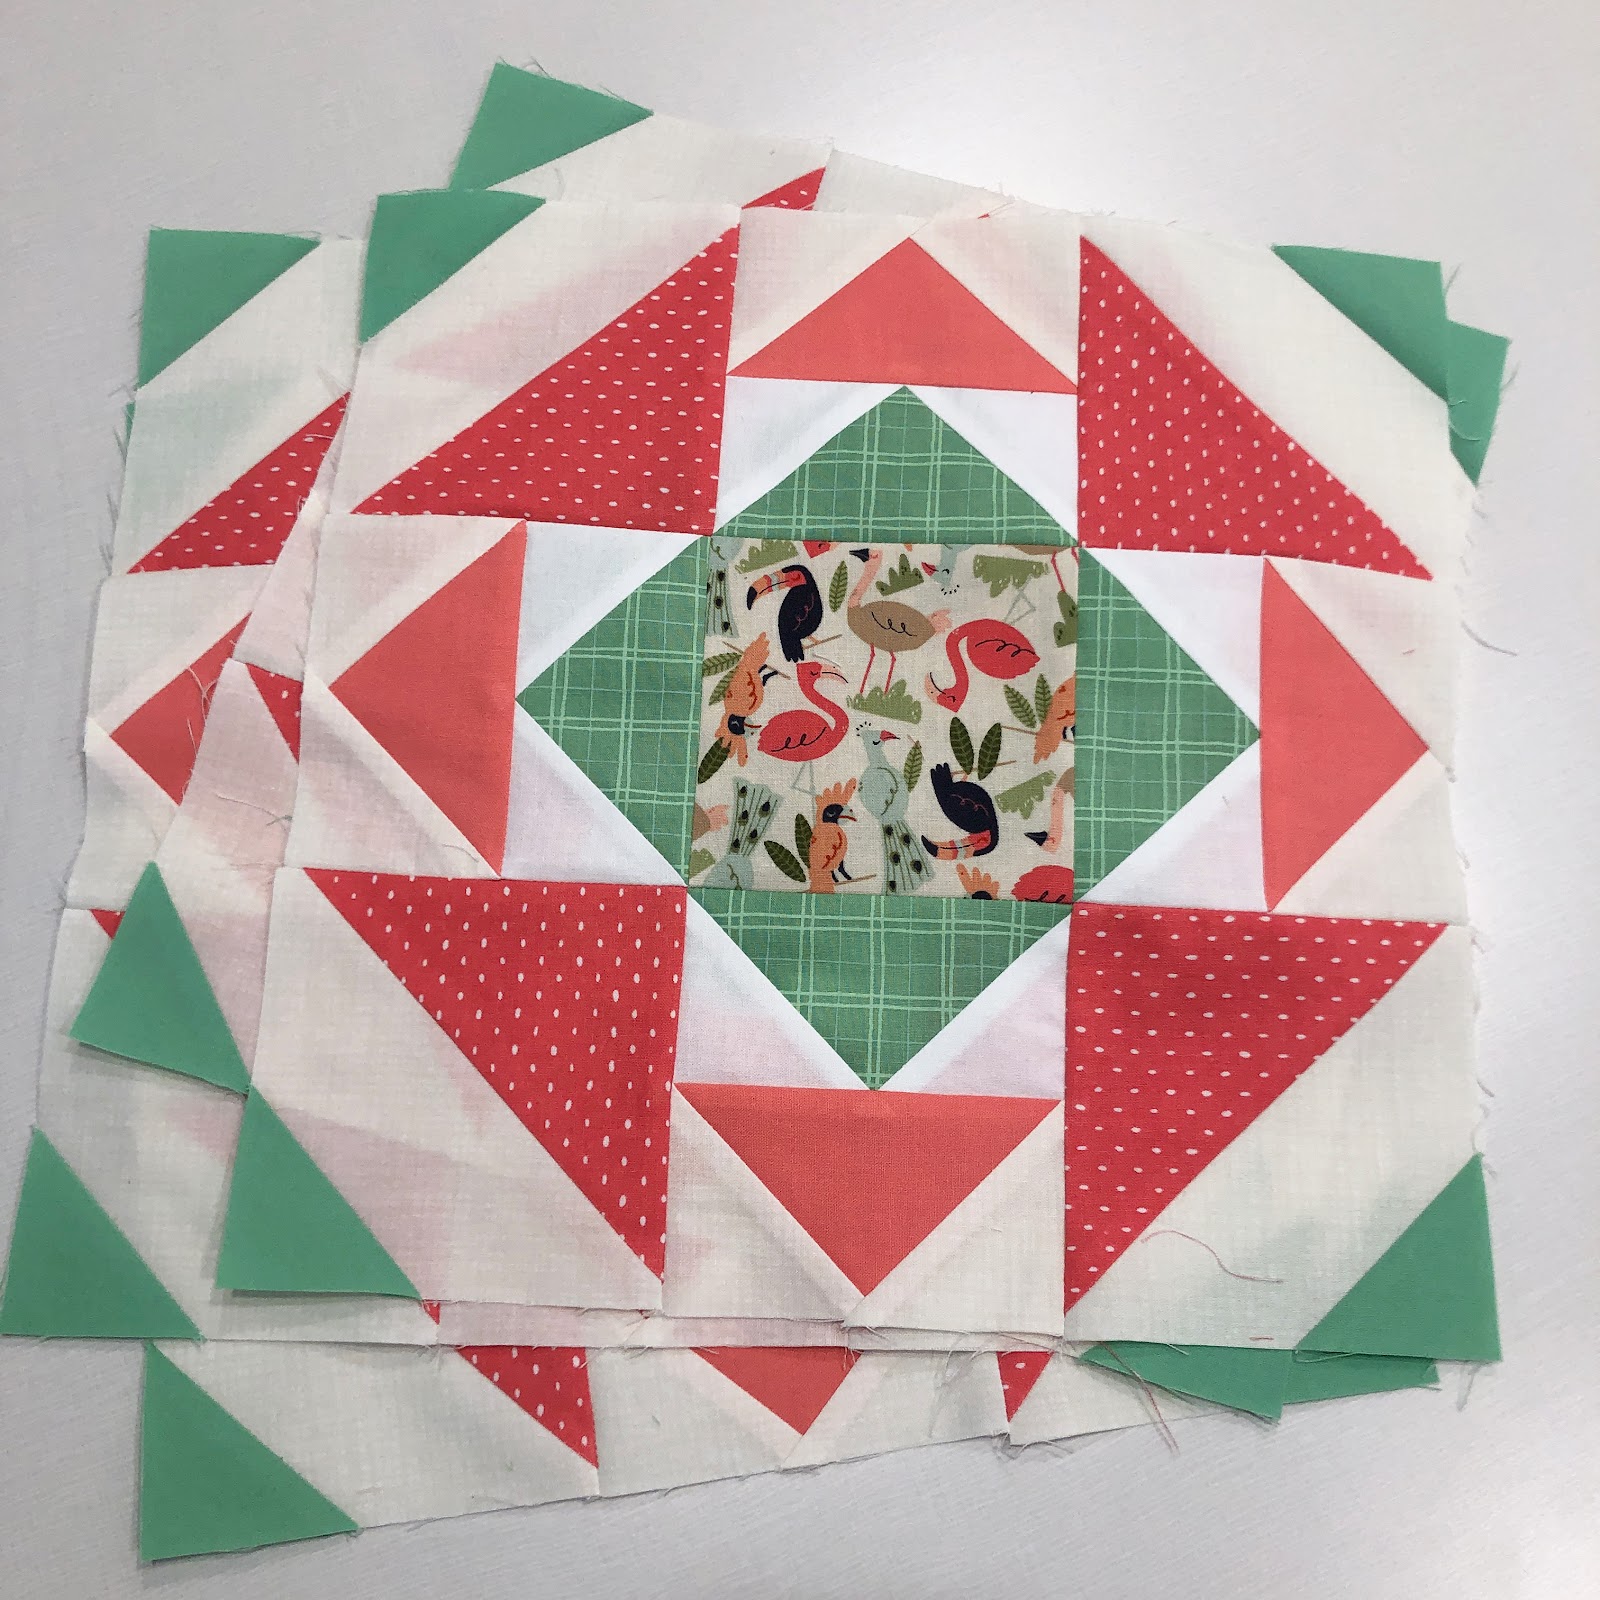
Sorry for the lousy picture, but I'm not feeling up to laying it out and making a nice picture right now.
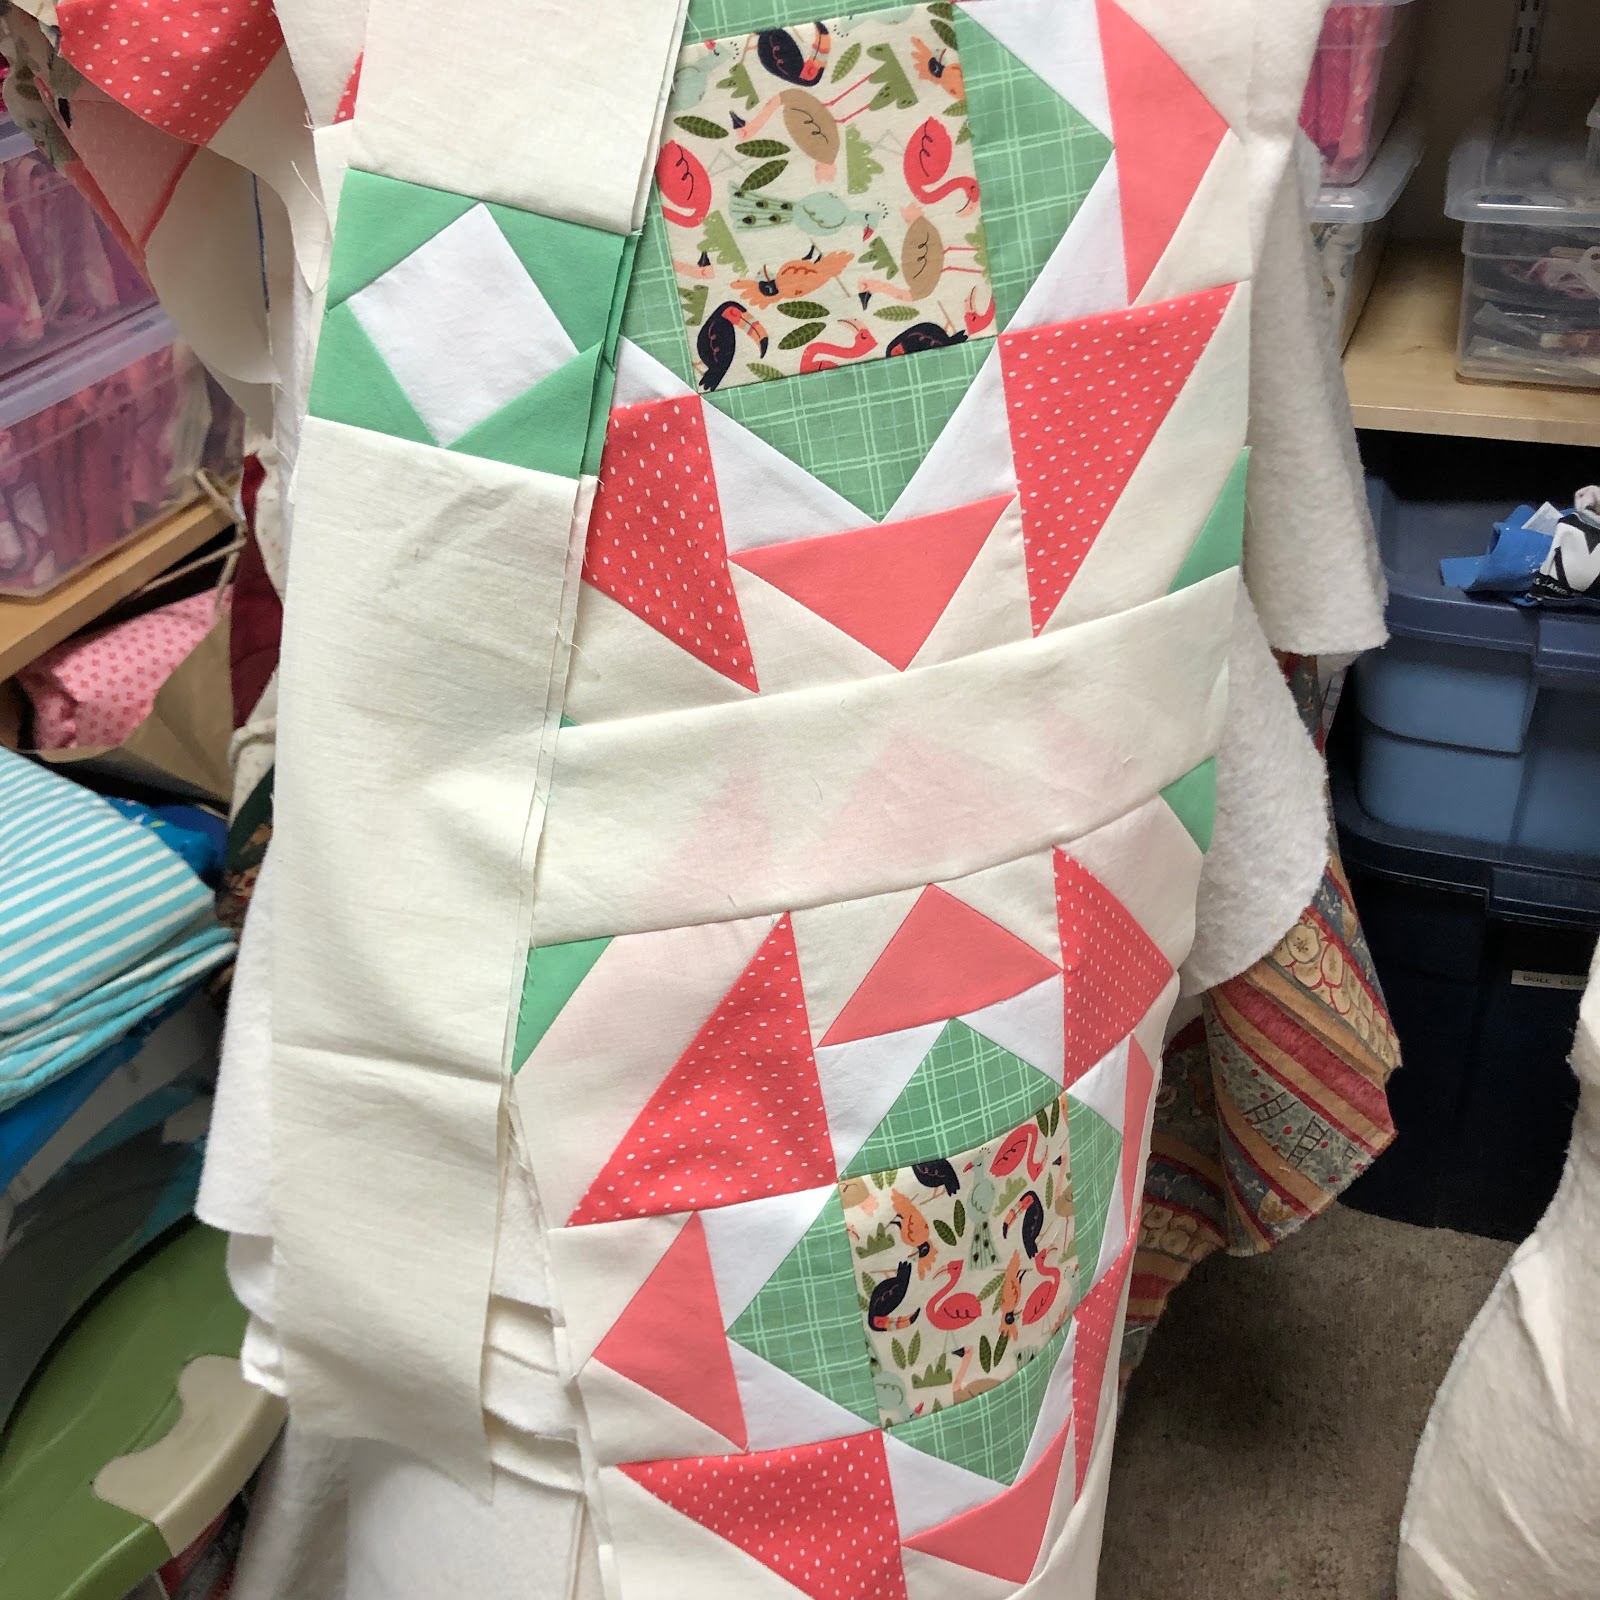
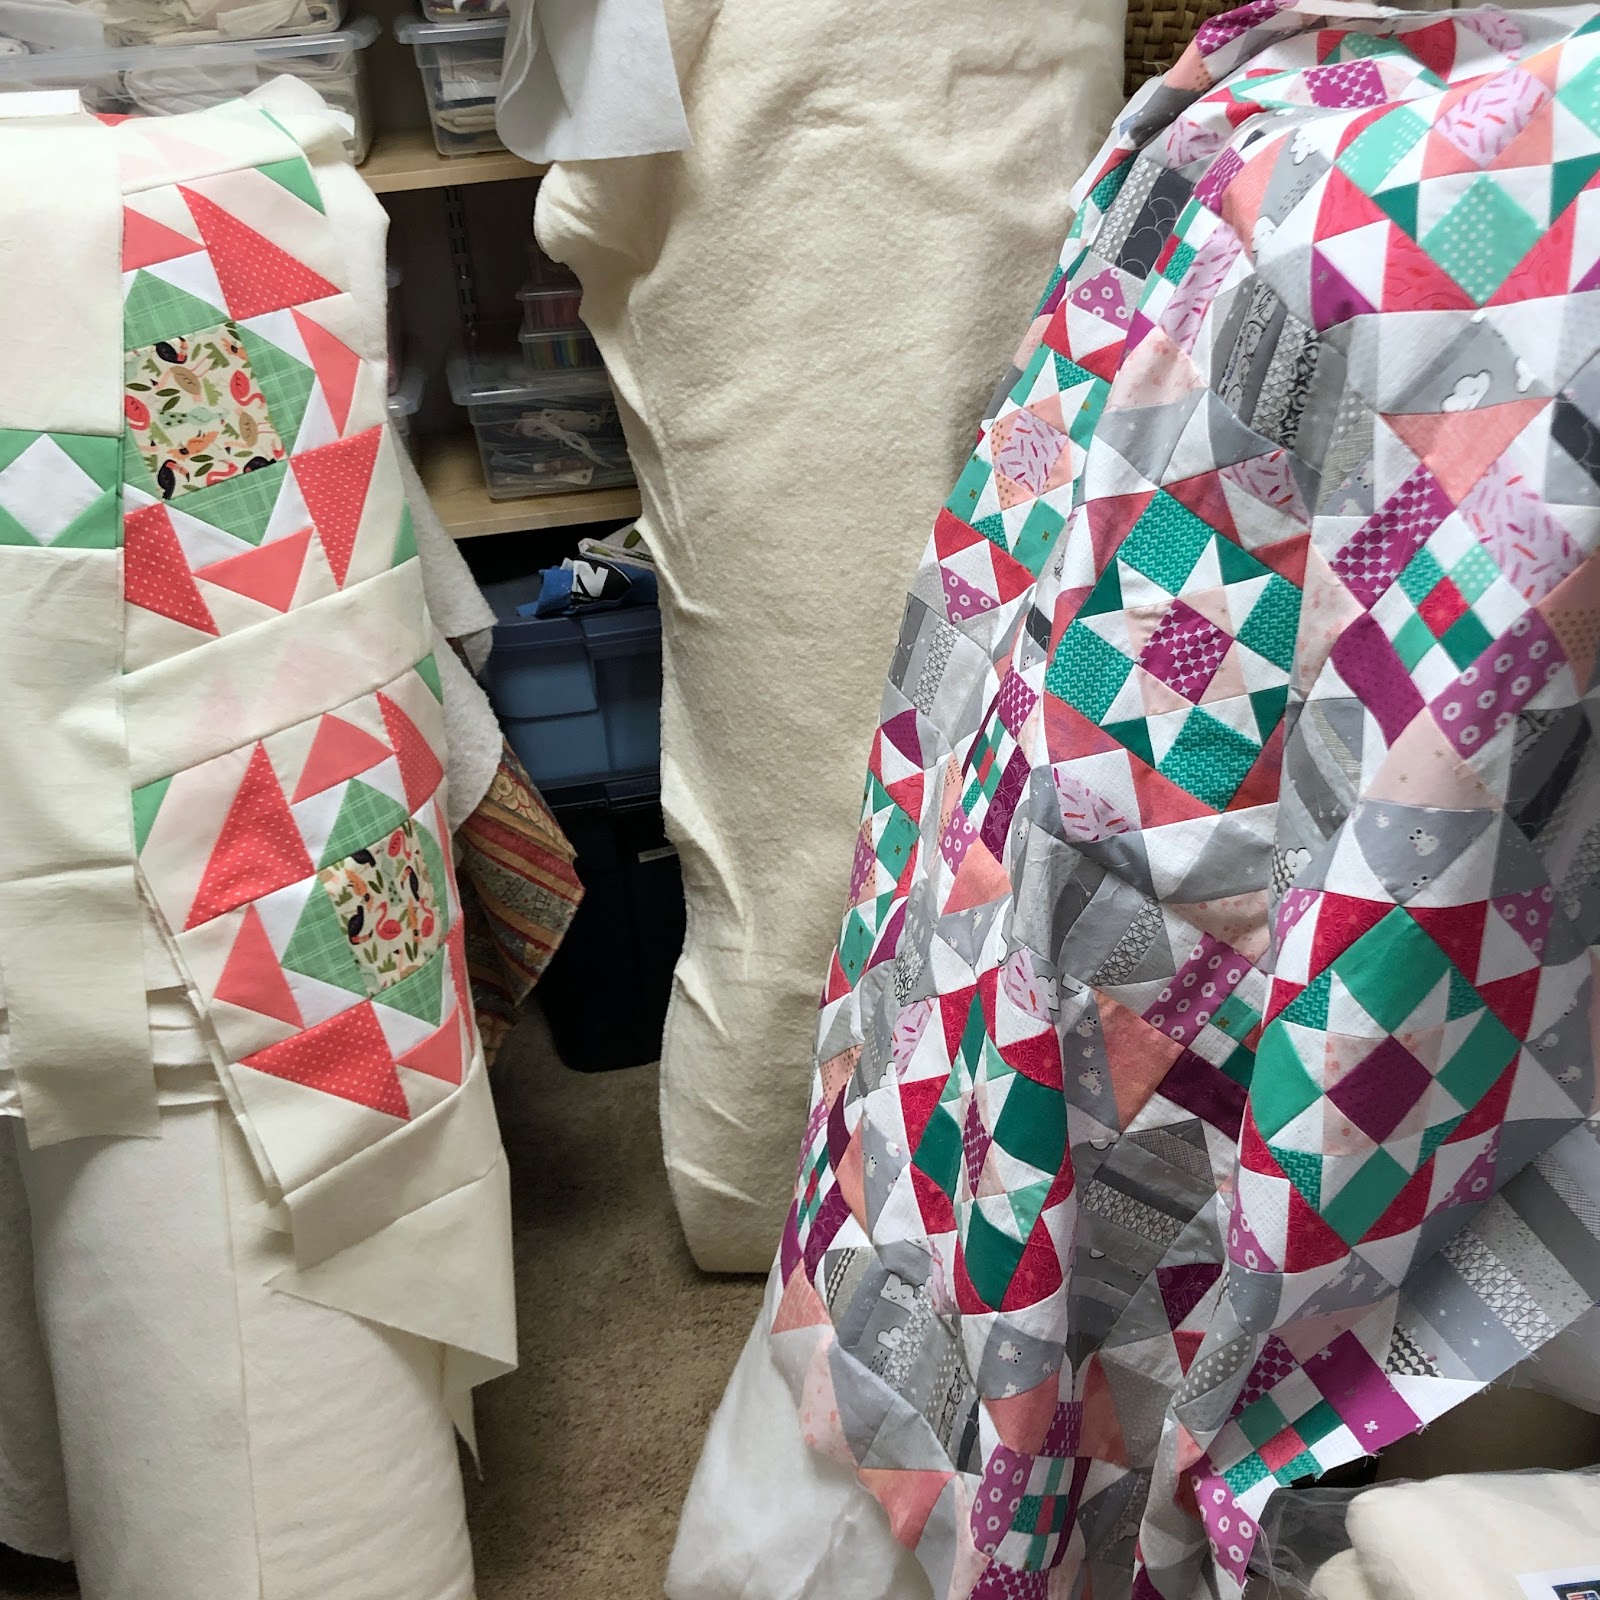
Am I the only one who stores partially completed quilts draped over batting rolls? Maybe you have a different spot in your sewing area you use for draping.
I did not complete five customer quilts, but I did get four done. I've spent quite a bit of time this week meeting with people to exchange quilts, texting, hunting down just the right design, getting thread and design choices approved, emails, phone calls, etc. It's surprising how much time that part of the job takes. 

I had to spend part of Monday troubleshooting why I was having thread breakage on the long arm and found some deep scratches in the bobbin area we had to sand off. Then I had to deep clean and test before I could get started for the day.

Here's what I worked on. First, Barbara's quilt, quilted with Unwind. 
Another of Barbara's, quilted with Diagonal Plaid. Both her quilts had really cute backs. Glide Lemon Ice matched her background fabric perfectly.
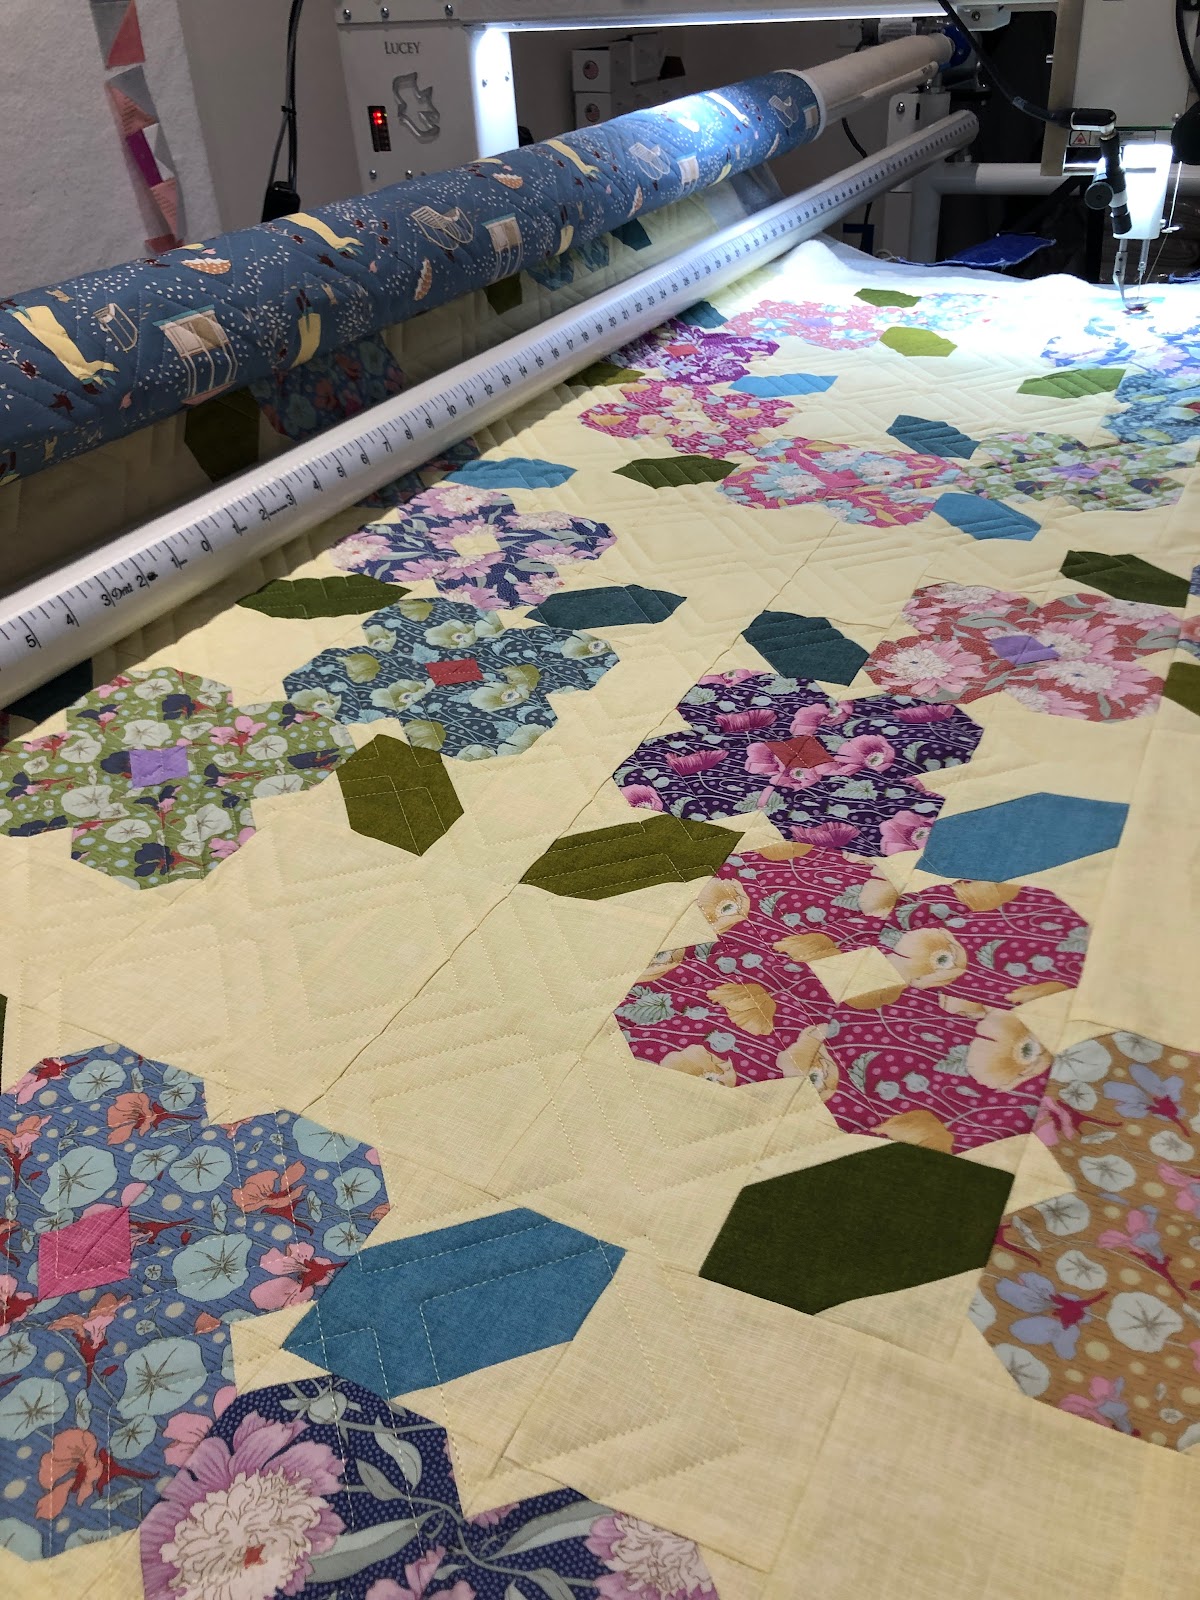
Elle's quilt, quilted with Pansy. It's hard to see the quilting on this one. I used Glide Pale Mist and it blended really, really well.
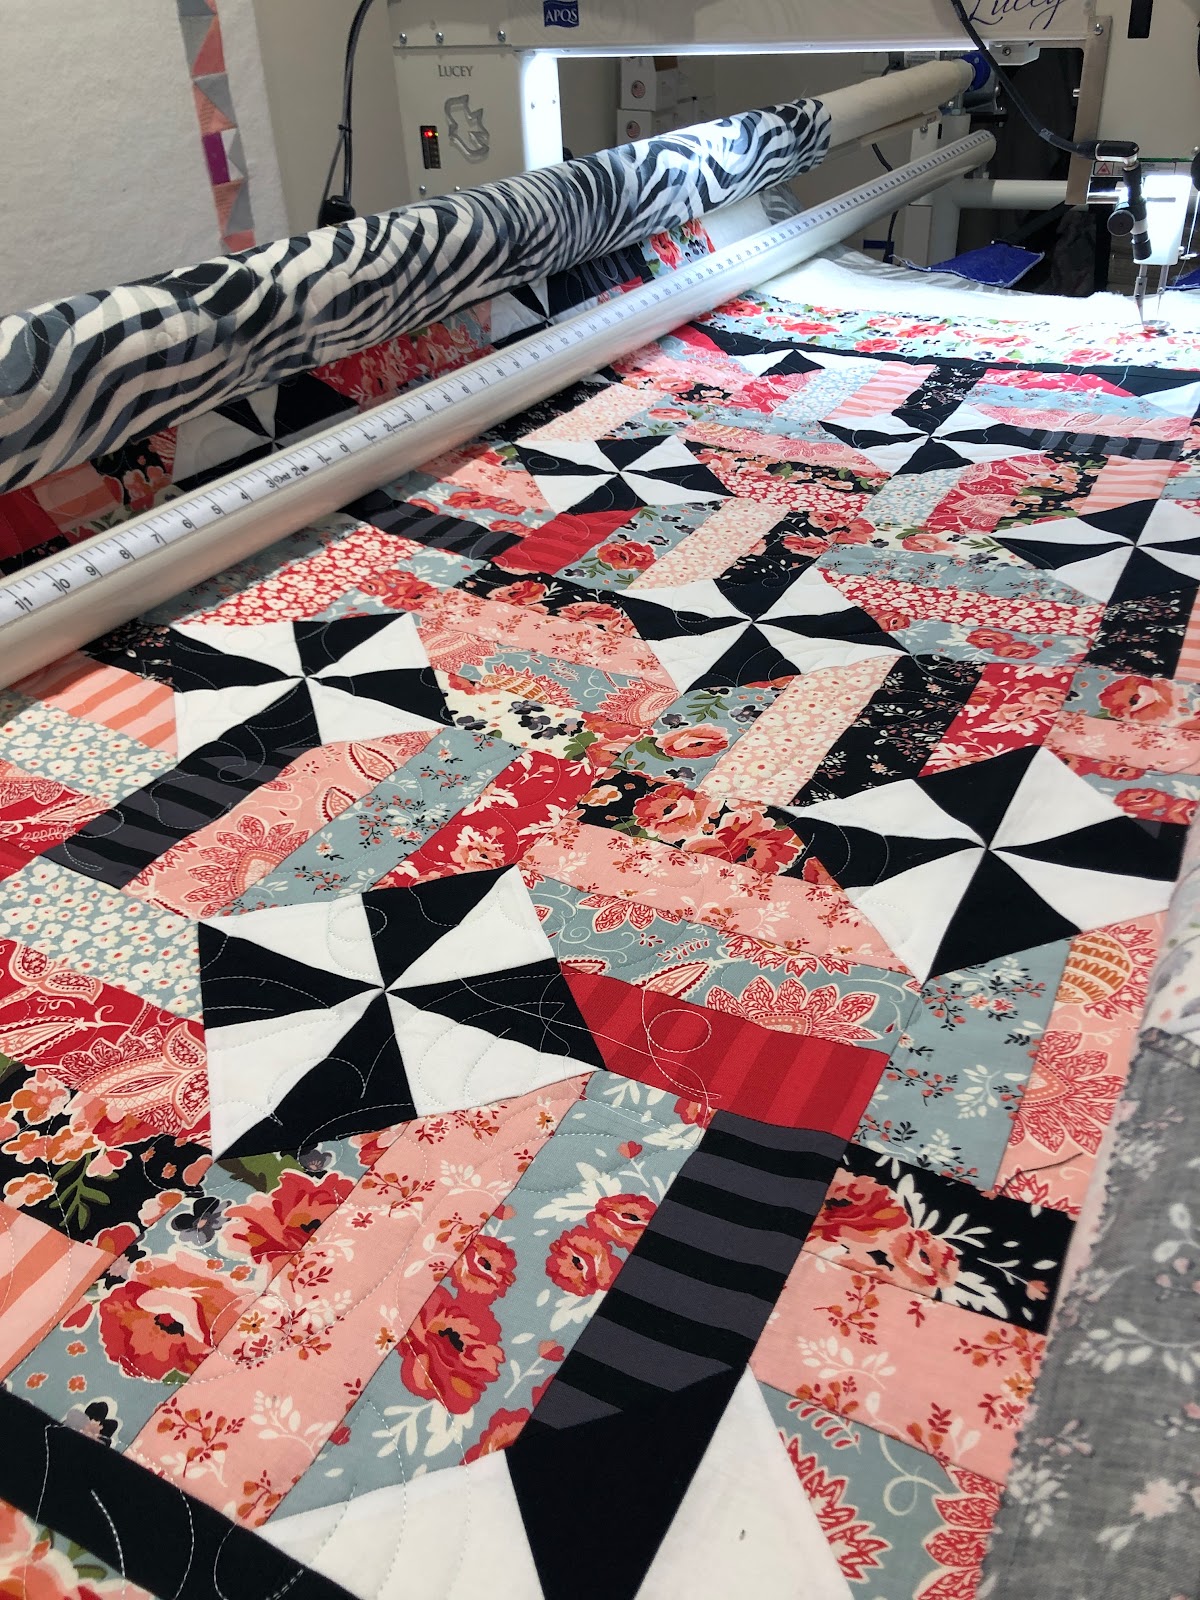
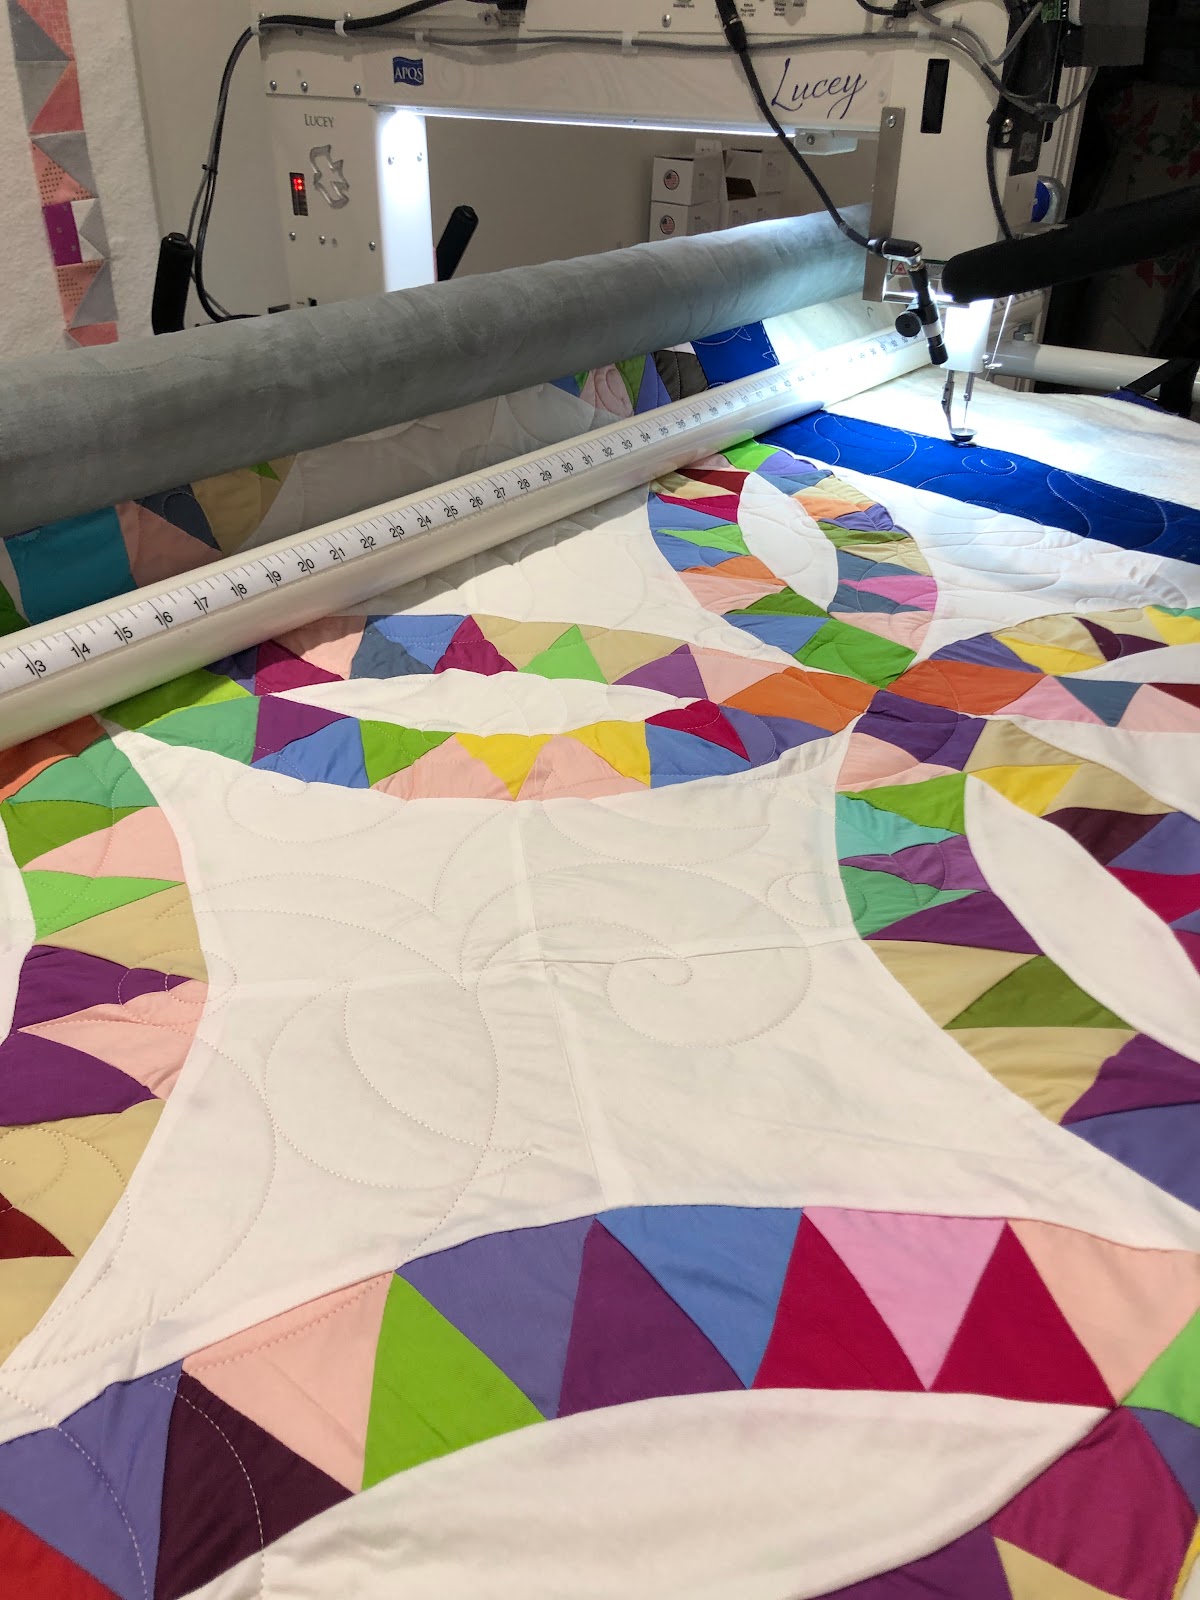
And Elle's Pickle Dish/Wedding Ring, quilted with Sugar & Spice. I used Glide Pink Rose on this. It ended up matching her peach fabrics and I was surprised how well it blended into her white fabrics.
We are starting to see signs of spring. Some of the daffodils are just starting to poke out of the ground. Some bush in my neighbor's yard is actually blooming. It's been rather cold lately, so I am surprised by that.  I'm starting to think about thinking about the vegetable garden for this year. I was hoping to plant some fruit trees on our spare property this year, but didn't get my act together enough to research what I need. 

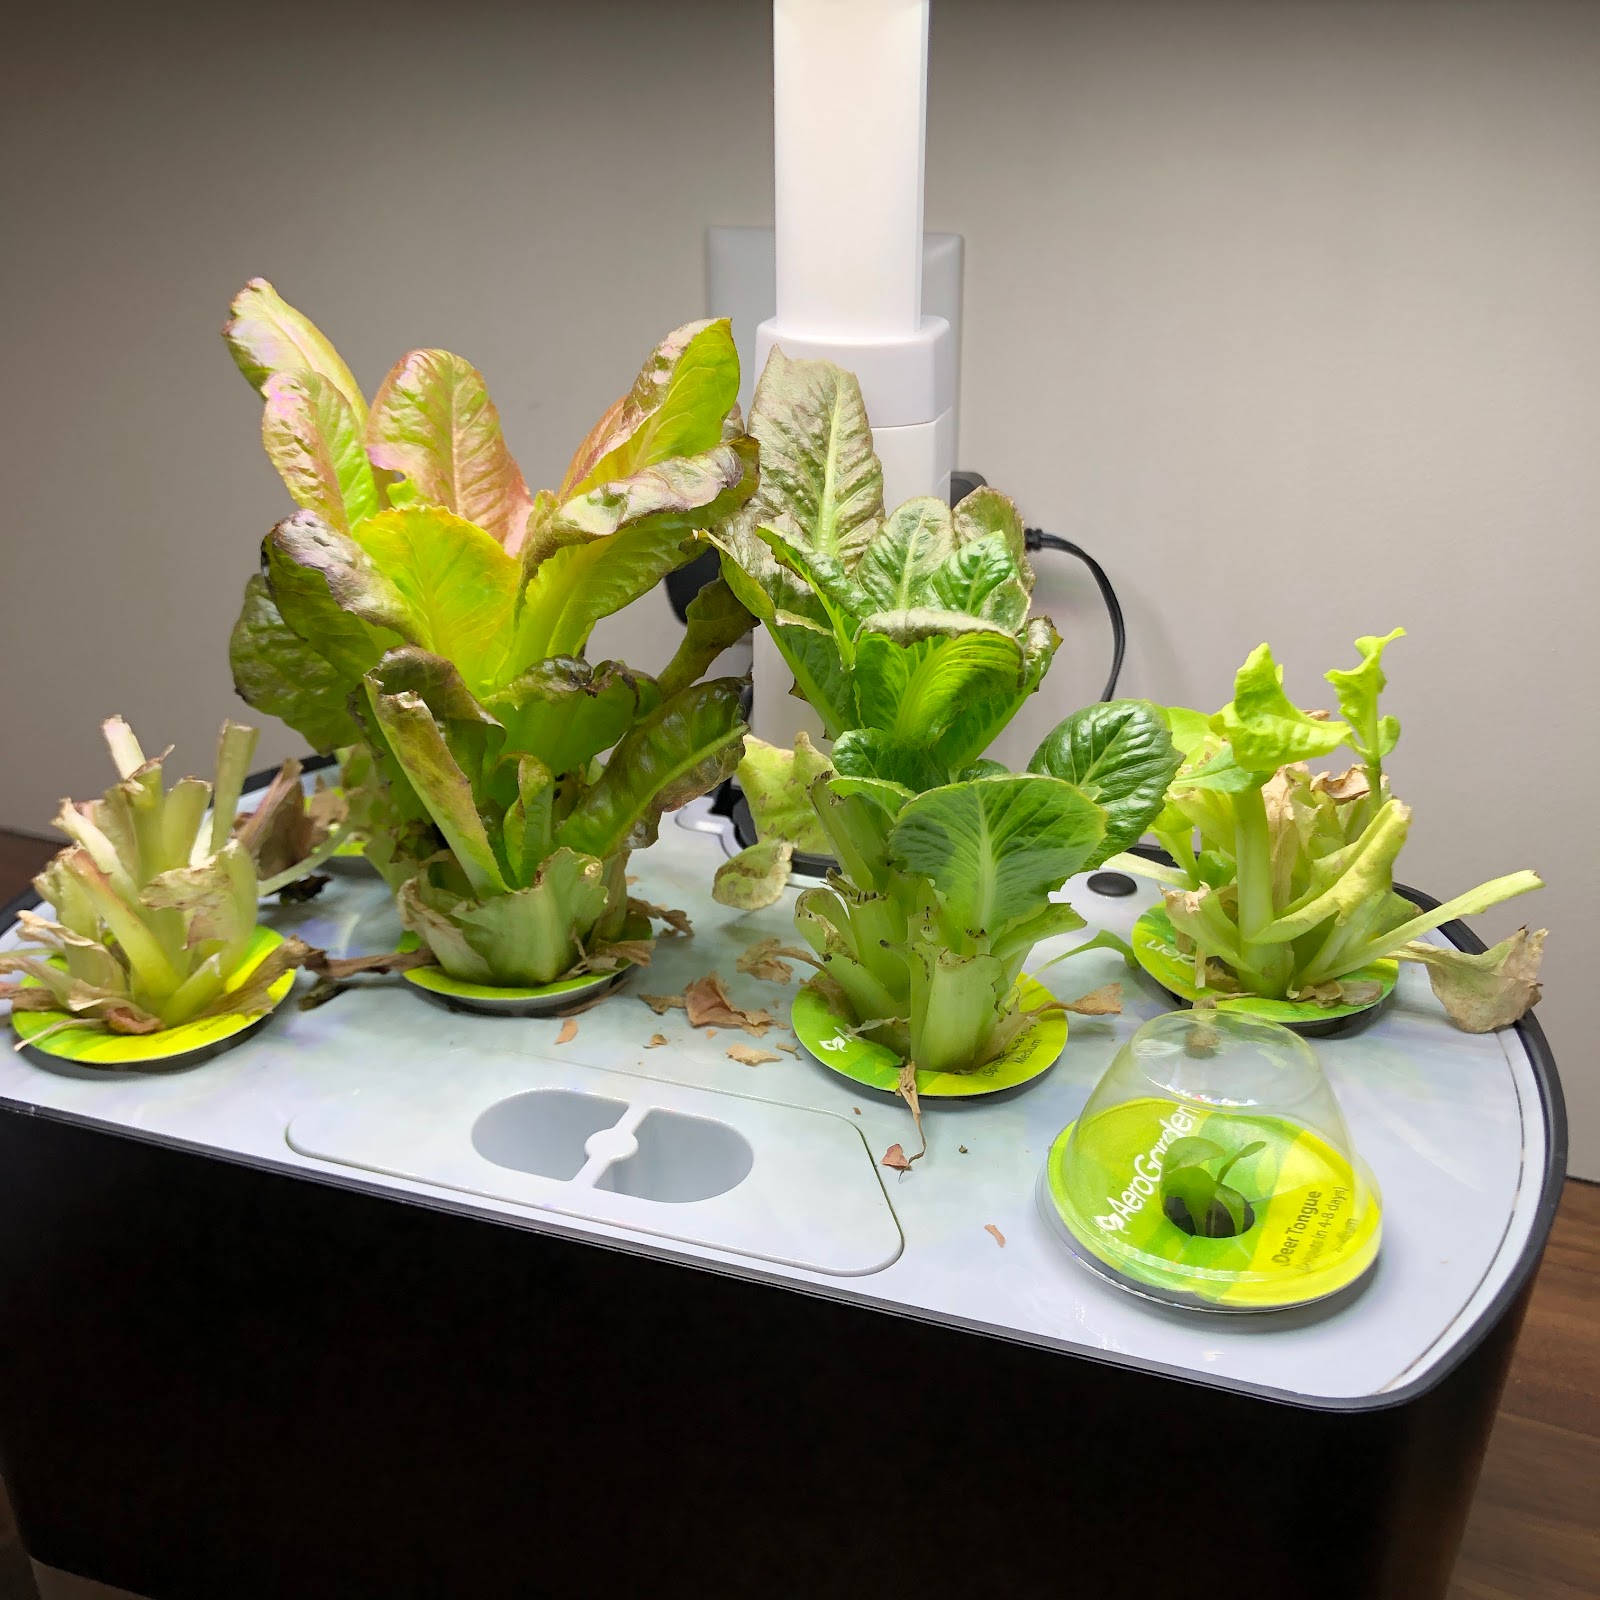
Meanwhile, the lettuce in the house is interesting. Two of the lettuces started growing back and the Deer Tongue variety now has four tiny sprouts. I've jokingly told my son that I could harvest that for his salad (he's not a salad fan).
Speaking of my son, he won 3rd place in an essay contest for Black History Month. We actually had to file a W-9 for him with the city because he has apparently won some cash. And I had a whole one day to complete the paperwork and submit a portrait of him. I didn't even know he wrote an essay. Good news though.


Mini Swap Quilts

My guild did a mini quilt swap recently.  Here is what I made for my partner, who likes traditional quilts and fabrics.  I went with custom quilting since I know she's into that.


I requested something small for my swap and so my partner made me this cute little guy that will fit perfectly on my wall.  The back is as cute as the front.
We had our guild retreat over the weekend.  I went on Saturday only and took along my Cupcake 3 American Jane project.  I got one charm pack's worth, or 84 blocks, completely finished and started on the second charm pack, which I finished sewing and cutting yesterday.  These things take forever!!
We had an impromptu baby shower at the retreat for one of the girls.  Along with some purchased stuff, I made a set of burp cloths as well.  Here is a tutorial I made for them.
I've been super-productive recently.  I have quilted two quilts for clients.  

I have several of my own ready to go as well, including the ripped and re-sewn polar bear quilt.
What are you working on?

P.S.--I saw juncos in my yard yesterday.  They are winter birds here.  😩


Postcard from Sweden Update 3

Over the weekend I finished up both of my Postcard tops.  The big one is nice, but I have to say that the mini is my absolute favorite!  I have been staring at them, trying to figure out how on earth to quilt them.  I think I am going to stitch along the diagonal lines on the mini.  I still have no idea what to do on the regular sized one.  I feel like it needs something more geometric, which means ruler work.  For me, that means it will take forever and be a bit choppy since I'm still trying to get a feel for my machine in Precise mode.
The mini quilt ended up at 18 x 22, or around the size of a fat quarter.  The squares are 1.5" finished.  That sounds tiny, but it was so easy to work with and it all fit together really nicely.  It was much easier to line up than the full size quilt.  I need to give both tops another good pressing. I think my iron is dying.  It hasn't felt like it's getting very hot lately.  I've had it more than a year. The previous one (same model) lasted just over a year before it literally had a melt down and became unsafe.  So it may be time.
I've also been considering how to quilt a few more tops.  I realized that I had two different rows reversed on the purple and green one I showed last week.  I will need to do a little surgery (selective seam ripping) on those areas to get them into the correct positions.  I'm not entirely sure how I'm going to quilt it once it's fixed and I still need backing fabric.  I decided on a pantograph, Spiral Feather, for my Fig Tree 2016 mystery quilt.  I need to buy backing for it.  I haven't decided on anything for the Paradiso #1 quilt yet.

I have narrowed down my choices for Pixie Noel Winter Wonderland to either Easy Orange Peel or Traditional Baptist Fan pantograph.  I still had five blocks left to do, so I've been working on finishing those this week while I mull over how to quilt the Postcard quilts.  You can see I have one tree block finished and two more are in progress.


I also got two sets of burp cloths sewn.  Several of my husband's coworkers are expecting their first children, and these are part of their shower gifts.  You can look at my burp cloth tutorial for the method and materials I use.
My current goals are to get more tops quilted and then make myself some shirts.  I think the fabric for them has been sitting there over a year.  I'm desperate for some new tops and I am hard to fit. What are you working on?


Tutorial for Awesome Baby Burp Cloths

When I had my first child, a co-worker gave me some handmade burp cloths and I quickly found out they were far superior to any purchased ones, not to mention a whole lot cuter. They were soft, absorbent, not too bulky for the diaper bag, and the perfect size. My second child was a big-time spitter so we needed to always have a burp cloth handy.  He used to clutch his burp cloth like a blankie while in his infant seat. These burp cloths also work in a pinch if you need to cover up a not-so-clean public changing table before putting your baby on it. Here is a tutorial for making your own set, either as a wonderful baby gift or just for yourself.

Supplies:
  • 3/8 yard flannel, print number one
  • 3/8 yard flannel, print number two
  • 3/8 yard flannel, print number three (optional)
  • rotary cutter, ruler, mat
  • iron
  • basic sewing supplies
  • bowl
  • pinking shears (optional)
A note on fabric: each burp cloth requires two prints. Two 3/8 yard cuts yields two burp cloths. If you can find three coordinating prints, you can mix and match and make three different but coordinating cloths.   Fat quarters will also work, but there will be more waste.

Another note on fabric: Use flannel. Do not use fleece. Do not use quilting fabric. Do not use minky or cuddle fabrics. Use flannel.

Directions:

1.  Prewash and dry all fabrics. This is important! Flannel shrinks tremendously. I buy 3/8 yard cuts so that I can have 1/3 yard cuts after washing. Also, if you buy craft store quality flannel, washing and drying it first makes it softer and fuzzier. Here are the two prints I am using.


2.  Press fabrics. Cut each piece in half on the fold. This will give you two pieces that are approximately 12" x 20". You don't need to be especially precise at this point. It's okay if it's a little bigger or a little smaller, just aim for around 12" x 20".


3.  Cut off selvedges.

4.  Layer the two fabrics with right sides together. If your fabrics have linear prints like mine do, try to make sure the patterns are straight. Smooth the fabrics flat using your hands.  


5.  Using your rotary cutter, mat, and ruler, square up your fabrics.

6.  Place your bowl upside down on a corner of your fabric. Trim around it using your rotary cutter.

7.  Here is my fabric, layered and trimmed. Now you are ready to sew. You will probably want to place a few pins around the whole perimeter to hold everything in place nicely while you are sewing.


8.  Start sewing about 2/3 of the way down one of the long sides. Make sure to back tack at the beginning of your sewing line. I use a 1/4" seam allowance. A 3/8" allowance is okay too. Continue sewing around the entire burp cloth, stopping and back tacking about 1/3 of the way down the long side you started on.  In other words, you need to leave an opening for turning. A four inch opening is good.


See...there's an opening for turning! This one was a bit tiny.
Make it easier on yourself and leave a bigger opening!

9.  Double check both sides of your fabric to make sure you didn't sew too close to an edge. If you did, go back and stitch it a little better.

10.  If you have pinking shears, use them to cut around all four corners. If you don't have pinking shears, you need to clip the curves around the corners so that they are smooth when you turn the cloth right side out. If you aren't sure how to clip the curves, click here for instructions.


11.  After the corners are clipped, turn the burp cloth right side out. It will probably be pretty lumpy and bumpy at first. Notice that I have a wooden stick with a point on one end in the picture below. That is a turning tool that comes free in some bags of polyester fiberfill. If you don't have one, you can use a chopstick, the end of a crafting paintbrush, an unsharpened pencil, or something similar. Just make sure it's not sharp since you don't want to poke holes in your fabric. What you are going to do is run the pointed end of the tool around the seam in between the layers, all the way around the perimeter. This will help to push your seams out nicely.

Before using the tool.
After using the tool.
12.  After you have pushed all the seam allowances out, press the burp cloth flat. This is important. Don't skip the pressing. Pressing gives a quality, more professional looking finish. You will also need to turn the seam allowances in on your opening. Try to line them up as well as you can and press them.


13.  Topstitch in coordinating thread. I topstitch at 1/8". This helps hold the seams in place and also is enough to hold your opening closed without having to hand stitch it. It also looks more professional.  : )  In the picture below, you can see my (quilt) piecing foot. It is foot 37 for a Bernina. Most machines have a piecing foot available and there are also generic ones for machines that don't come with one. On this particular foot, the outside is 1/4", the inside is 1/8", and the very inside opening near the needle is 1/16".  Very useful for topstitching! The two feet I use most often are this one and a walking foot. If you don't have them, I highly recommend them!


14.  Give your finished burp cloth a good pressing. You are done!


Final notes: You can embroider on one of the fabrics before layering and sewing if you want. I did that once for a gift. I would suggest that it be a tiny embroidery in one of the corners, using cotton thread if possible so that it is not stiff and scratchy on the baby's delicate skin and so that it washes better.  Wondering why I say only flannel? Plain cotton quilting fabric is not thick enough. Fleece and minky may look cute but they are not absorbent. The point is to catch and absorb the mess, not have it run off the fabric. Remember, I had a major, pro-level spitter. I know what works. Use flannel.  : )